Key takeaways
- Redaction should happen before a screenshot leaves the browser or gets dropped into another tool.
- Blur, pixelate, and solid fill each have a different job. Picking the wrong one can make the screenshot harder to read or not private enough.
- Local editing reduces the need to upload sensitive images to a third-party web app.
- Every sensitive screenshot should go through a short review checklist before export.
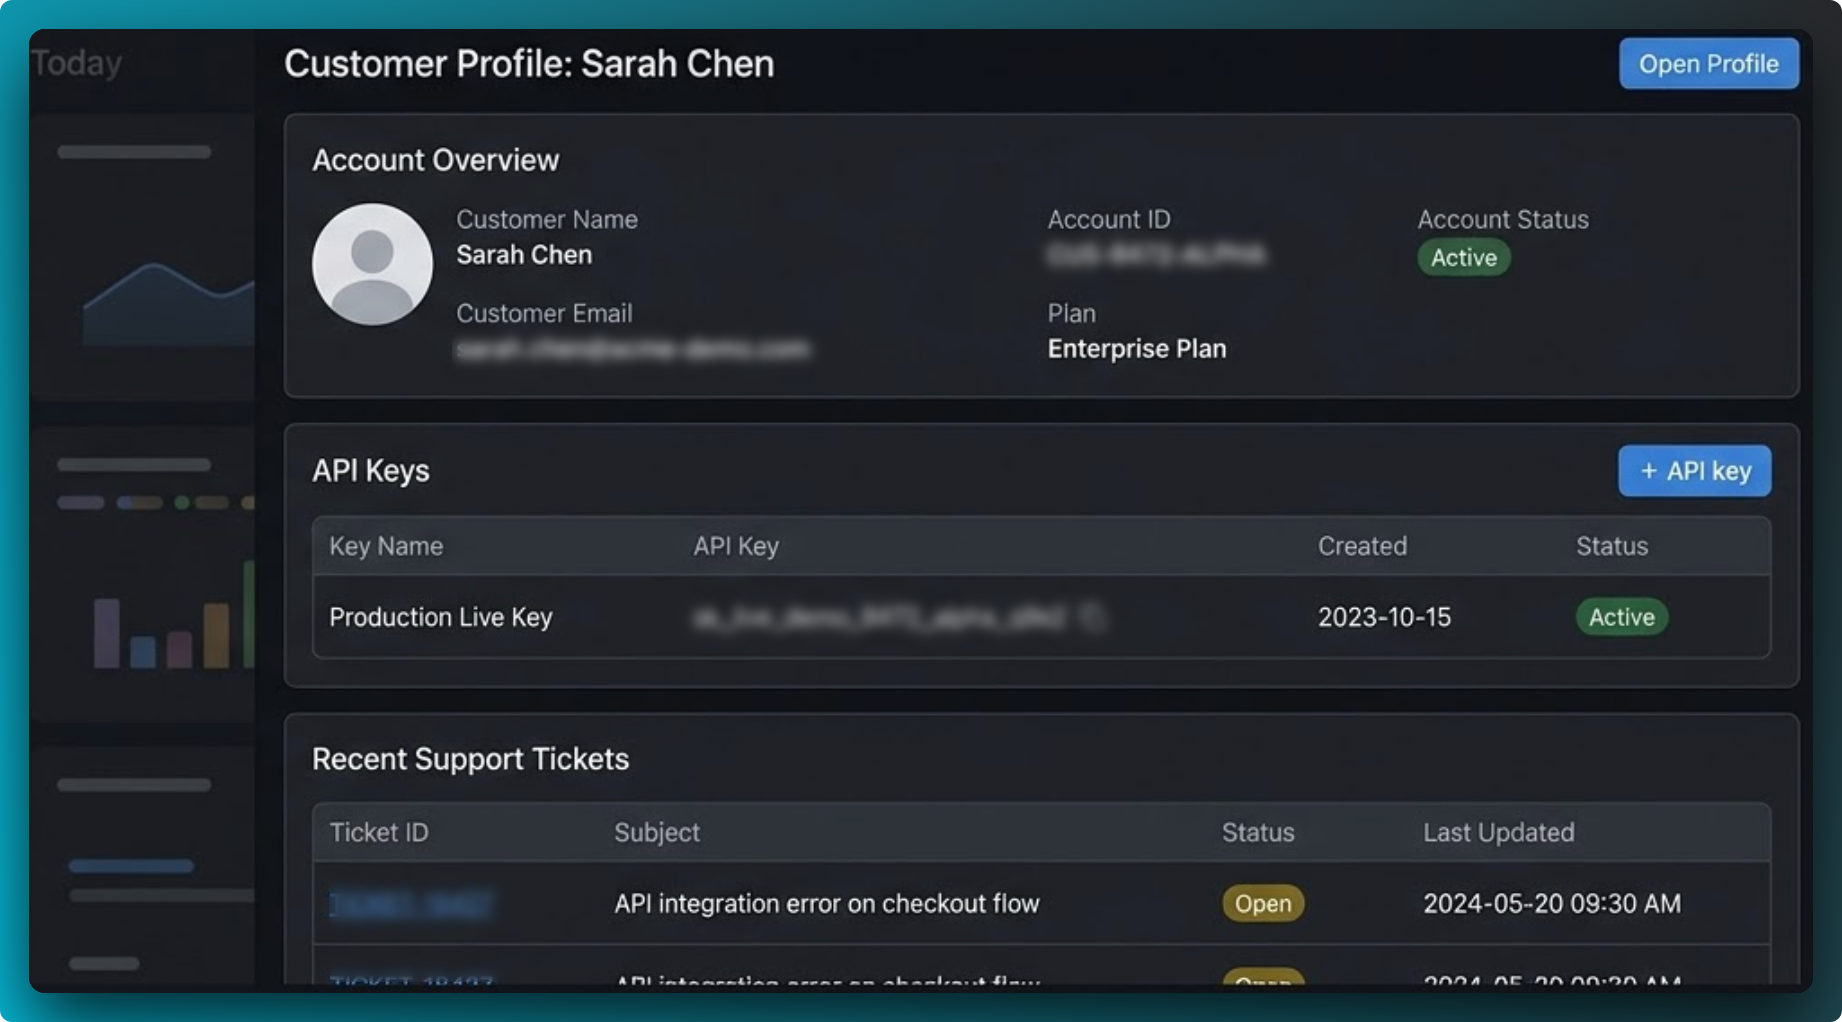
What should be redacted in a screenshot?
People usually look for the obvious secrets first, such as passwords and API keys. In practice, the leaks happen in smaller details around the main UI. A safe review should include:
- Credentials: API keys, access tokens, session tokens, passwords, and secret environment values.
- Personal information: names, emails, profile photos, phone numbers, physical addresses, support ticket IDs, and customer-specific data.
- Internal references: staging domains, local URLs, admin paths, internal project names, and operational dashboards.
- Side-channel clues: browser tabs, bookmarks bar entries, notification badges, and background windows visible in the capture.
That last category is often missed. The screenshot may focus on one panel, but the actual exposure happens in the browser chrome or nearby UI.
Choose the right redaction type
Good for soft hiding
Useful when you want to hide a detail while keeping the page visually natural. Best for supporting information that is not part of the main story.
Good for obvious masking
Better when you want the viewer to immediately recognize that something was intentionally hidden, such as an account number or internal value.
Good for the highest contrast
Best when there is no reason to preserve the look of the underlying UI. It is the clearest signal that a field is completely off limits.
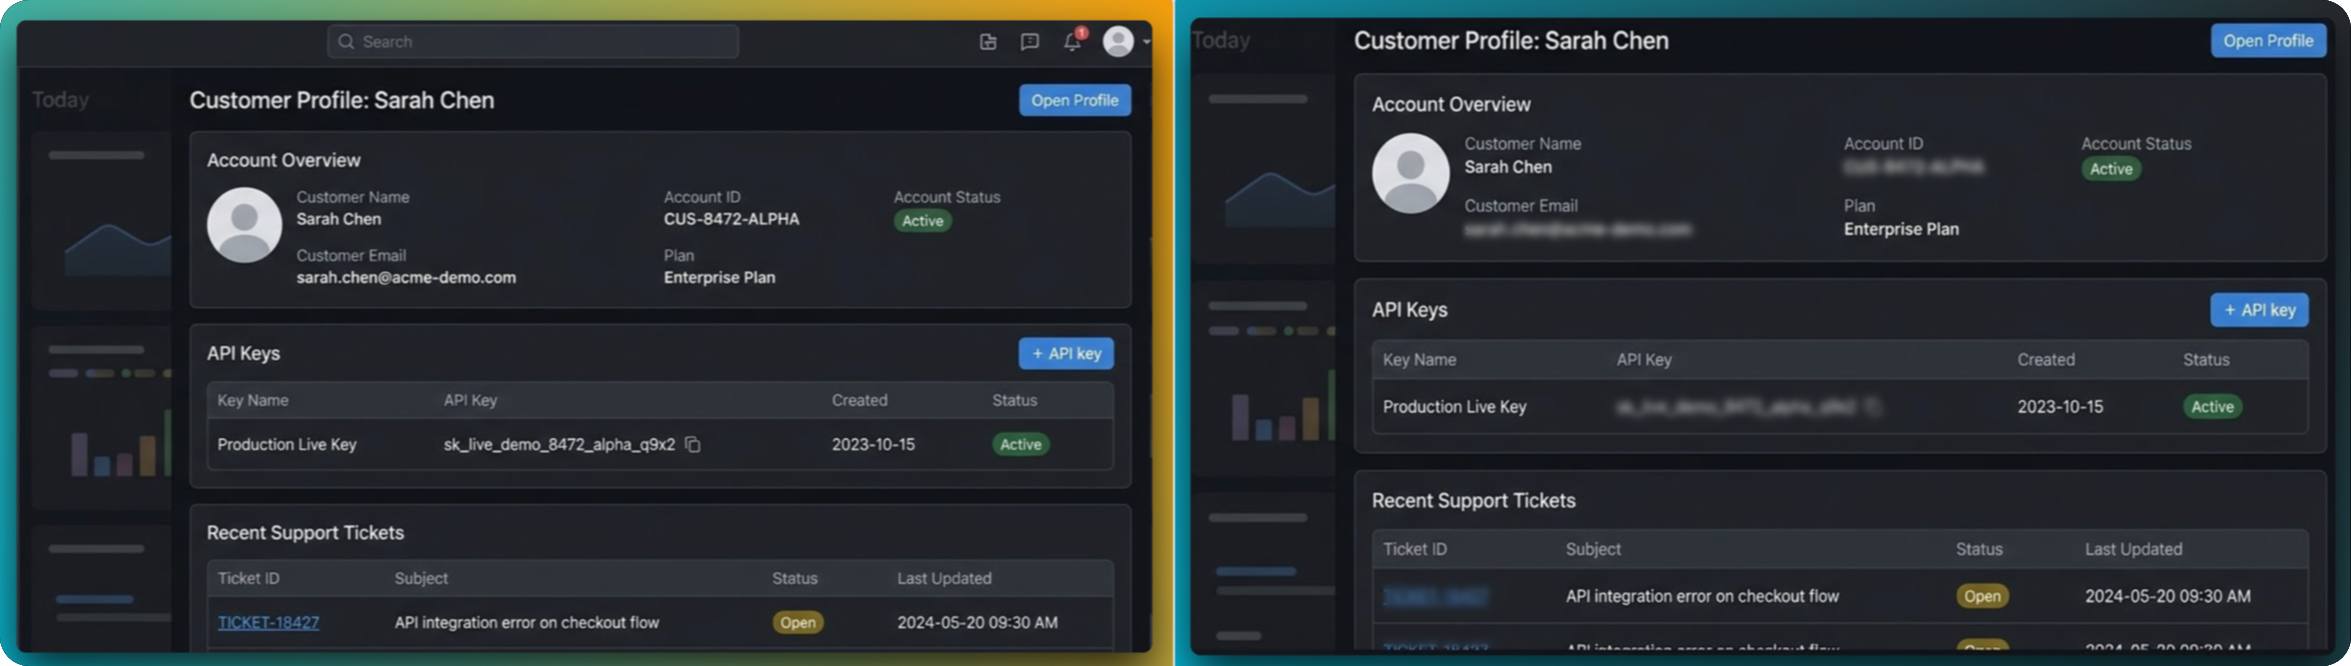
A safe redaction workflow with FramedShot
- Capture only what you need. Start with the smallest useful area. The fewer sensitive elements you bring into the editor, the less you need to hide later.
- Scan the edges first. Look at the address bar, tabs, browser profile, and any secondary sidebars before you inspect the main interface.
- Mask sensitive details before styling. Redaction comes before gradients, frames, and export presets. Privacy work should never be the last-minute step.
- Use the simplest redaction that works. If a solid block communicates the message better than blur, use it. Readability and safety matter more than realism.
- Zoom out and review. Once the screenshot looks finished, do one more pass at the final export size. Small leaks are easy to miss when you are zoomed in.
Why local editing matters for private screenshots
Many teams still handle sensitive screenshots by uploading them to a generic web tool, making a few edits, and downloading the result. That may be acceptable in low-risk cases, but it is not ideal when the image contains internal product views or user data.
A browser-first workflow keeps the editing process closer to the original environment. In FramedShot, screenshot capture and editing happen inside Chrome, which reduces the need to move an image through extra upload steps before you are ready to export.
That is not just a privacy advantage. It is also faster. The less time the screenshot spends bouncing between tools, the less likely it is that an unredacted version gets shared by mistake.
A pre-publish checklist
- Look for secrets in both the main panel and the browser chrome.
- Check account names, customer labels, support IDs, and notification counts.
- Confirm that blur or pixelation does not leave the underlying value readable at full size.
- Review exported images once more before attaching them to a ticket, doc, or social post.
- When in doubt, crop tighter and redact more aggressively.
FAQ
Is blur enough to hide sensitive information?
Sometimes, but not always. Blur is good for soft background details. If the information is critical, use pixelation or solid fill so the redaction is unmistakable.
Should I redact before or after adding a frame and background?
Before. Privacy work should happen as early as possible so the screenshot is already safe by the time you start making it look polished. For a deeper breakdown of blur, pixelate, and solid fill, see the secure redaction guide. If you need a dedicated workflow for sensitive captures, use our free screenshot redactor tool.
What is the biggest thing people forget?
Tabs, bookmarks, profile names, and notification badges. The leak is often outside the part of the screenshot they care about most.
Need a faster privacy-safe screenshot workflow?
FramedShot gives you redaction tools, local editing inside Chrome, and export controls in one browser-first flow.
Install FramedShot