At a glance
- Redaction means masking pixels so text is not readable in the exported PNG — FramedShot uses blur, pixelate, and solid fill in the Annotations tab’s privacy tools, not a loose brush.
- Local edit: masking runs in your Chrome tab; you are not uploading the file to FramedShot to edit it.
- Before share: redact, then export — then paste into Slack, tickets, or docs.
What people actually redact
Same screenshot problem, different roles. Scan for your fields before the image leaves the browser.
Developers
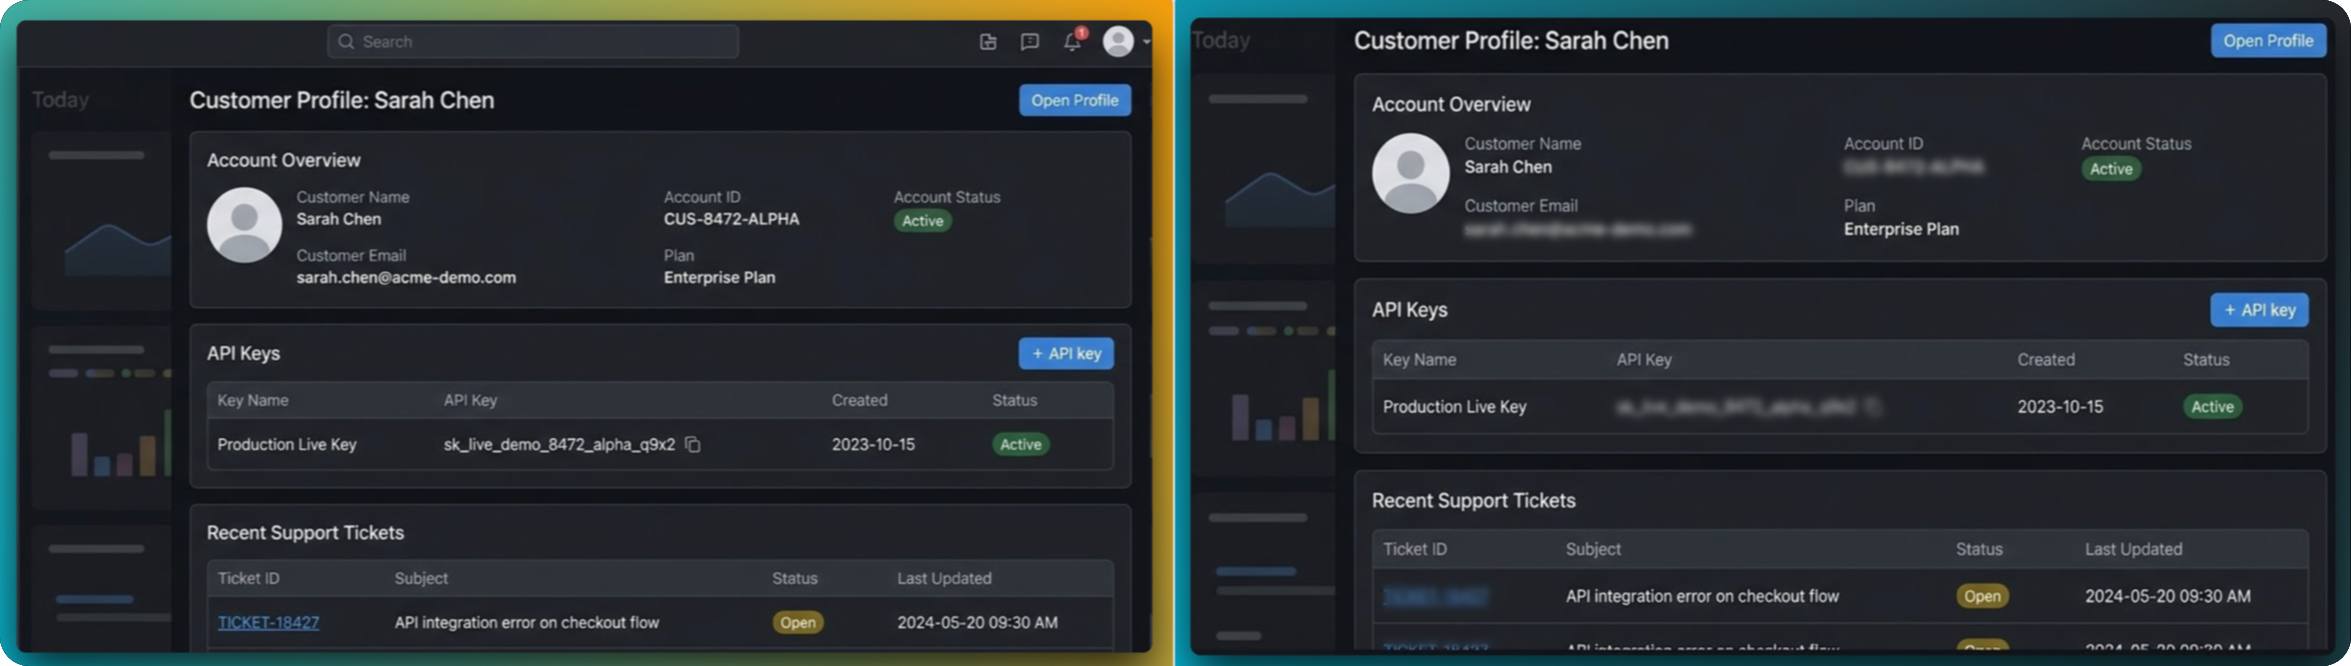
- API keys, JWTs, OAuth client secrets
Authorizationheaders, cookie values- Env vars, connection strings, stack traces with paths
QA & support
- Customer emails, names, phone numbers
- Ticket IDs (e.g.
#ACME-44821), account IDs - Order totals, internal case notes in side panels
Product & docs
- Internal URLs, staging hostnames, admin paths
- Unreleased UI, feature flags, roadmap labels
- Analytics counts, revenue snippets, cohort labels
Also check the edges: tabs, address bar (tokens in query strings), profile name, and notification badges — not only the center panel.
Pick a concealment method on purpose
Match the tool to risk. For field-by-field tradeoffs, see when to use blur vs pixelate vs solid fill — here is the short version:
When it is enough
Lower-risk context where the UI should still look natural — names, secondary labels, soft background detail. Not for secrets.
When obvious masking helps
Bug reports, QA, internal threads: readers should see that something was intentionally hidden, not cropped away by accident.
When in doubt
API keys, tokens, passwords, anything short and monospace. Flat coverage beats recoverable blur after JPEG or zoom.
Redact in the browser — then share
Typical slip: upload a sensitive screenshot to a random online editor just to blur a field. That copies your image to another system before it is safe.
- Mask in FramedShot before Slack, Jira, Linear, Notion, Google Docs, or customer email — not after.
- Editing stays in your Chrome tab until you export; you are not sending the image to FramedShot’s servers to apply redaction.
- Export the cleaned PNG, then attach. One less place the unredacted file had to exist.
Local-first privacy — how capture and edits stay in the browser.
API keys, tokens, and developer-facing captures
Secrets need solid fill or pixelate more often than blur. They hide in the network panel, terminal, URL bar, and settings — not only form fields. See redacting API keys, tokens, and passwords in screenshots for a credential-focused checklist.
Workflow in FramedShot
Sidebar: open the editor from the extension → Annotations tab → privacy / redaction tools (blur, pixelate, solid fill).
-
Capture or import
Capture a tab or region, or upload an existing PNG/JPEG into the editor.
Popup · Visible tab · Area selection · Upload -
Choose a method per region
Select blur, pixelate, or solid fill, then drag rectangles over each sensitive area. Switch tools if different fields need different risk levels.
-
Mask completely
Extend slightly past the edge of monospace secrets and long emails. Zoom the canvas if needed.
-
Export, then share
Use 2× or 3× export and spot-check at full size. Download, then attach to a ticket or chat. Add frames or social sizes only after redaction.
Social export: screenshot sizes guide
Best practices for technical screenshots
- Do not over-redact. Hide only what is sensitive so tutorials and bug reports stay understandable.
- Be consistent. Use one style per sensitivity level in a single doc so readers know what “hidden” means.
- Layer annotations after masking. Use arrows and text after redaction so callouts do not cover half-hidden data.
- Redact before styling. Privacy first; mockups second.
Pre-publish checklist
- Secrets and PII covered, including redacting API keys, tokens, and passwords in screenshots where relevant.
- Tabs, URL bar, and profile/chrome reviewed — not only the main panel.
- Exported at 2× or 3× and checked at full size.
- Final pass before attach or post.
FAQ
What is the difference between blur, pixelate, and solid fill?
Blur softens visually — often for lower-risk details. Pixelate reads as intentional masking in technical contexts. Solid fill is strongest for secrets. See when to use blur vs pixelate vs solid fill for a full comparison.
Does FramedShot upload my screenshot when I redact it?
No. Edits run locally in your browser tab. See local-first privacy for detail.
Should I redact before or after styling?
Always redact first. Add backgrounds, frames, and shadows after sensitive pixels are masked.
How do I redact a photo or image, not just a screenshot?
The same way. Upload any PNG or JPEG — a photo, a scan, or an exported image — then drag blur, pixelate, or solid fill over each area and export a flattened copy. Nothing is limited to screenshots, and the image is processed locally in your browser.
Redact in Chrome, export when it is safe
Capture or upload, mask sensitive pixels in the editor, then download — same tab, no upload for the edit step.
Redaction is processed in your browser — mask before you share; no upload required to edit the image.
Open the screenshot redaction tool